DIY: Rustic Letters With Flowers
Isn’t it fun when you can create exactly what you want? In the colors you need, the look you are after and transforming it exactly as you want it? All the while enjoying the process of crafting it yourself. For the February Michaels Makers challenge it is all about personalizing and making it your own. What did I decide to create? A wood sign that says DESIGN. I’m sloooowly working on my new craft room. And I wanted to create a sign that says, Design Dazzle. I figured out half of what I want the sign to look like. I’m not sure how I want the “Dazzle” part to look. My craft room has a very big long wall. I’m thinking about painting chalkboard paint on it and then placing these letters on there. For now you can see how I crafted them. And guess what??? I love how they turned out!!
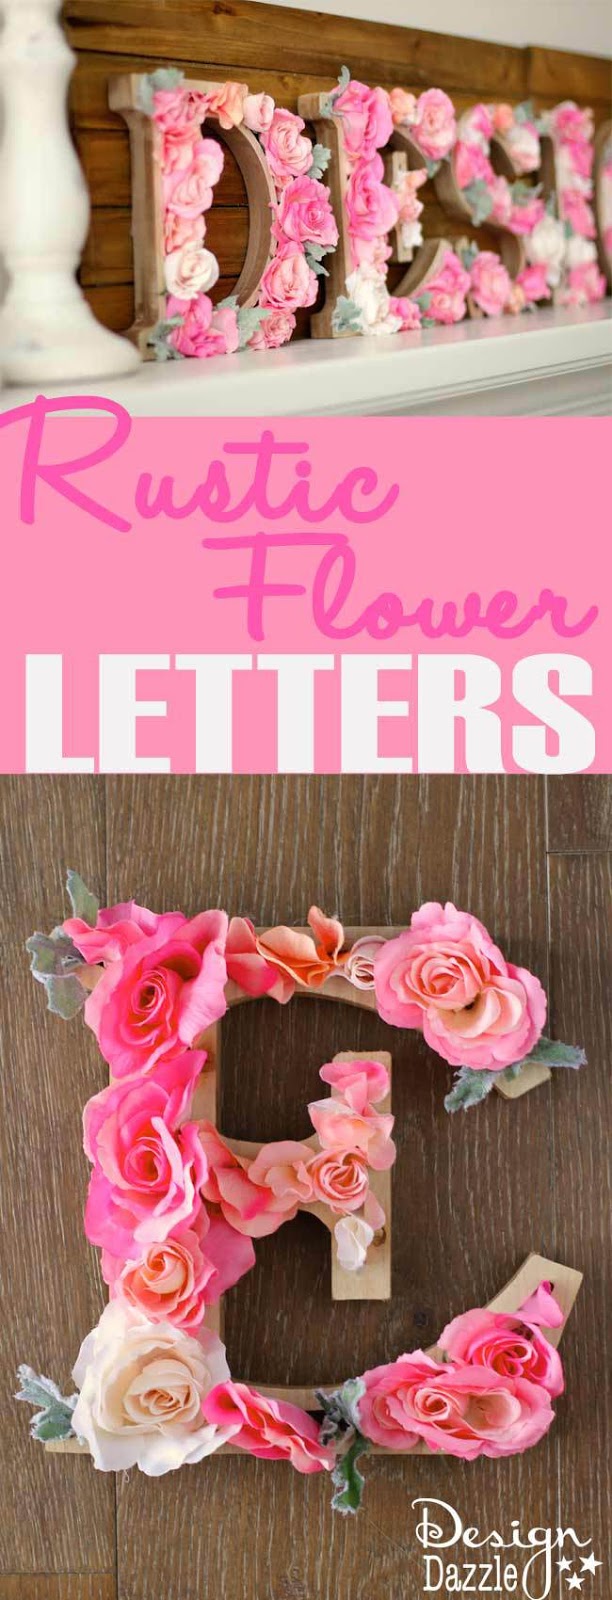


Carved Wood Letters 8″
Floral Stems (colors to match your decor). I used 3 different floral bushes – coral, pink and cream.
Artificial Lambs Ear – greenery to add a little contrast to the flowers
Glue gun – glue sticks
Scissors